Easy DIY Wall Panelling: what you need to buy
Everything you need to recreate this look in your home!
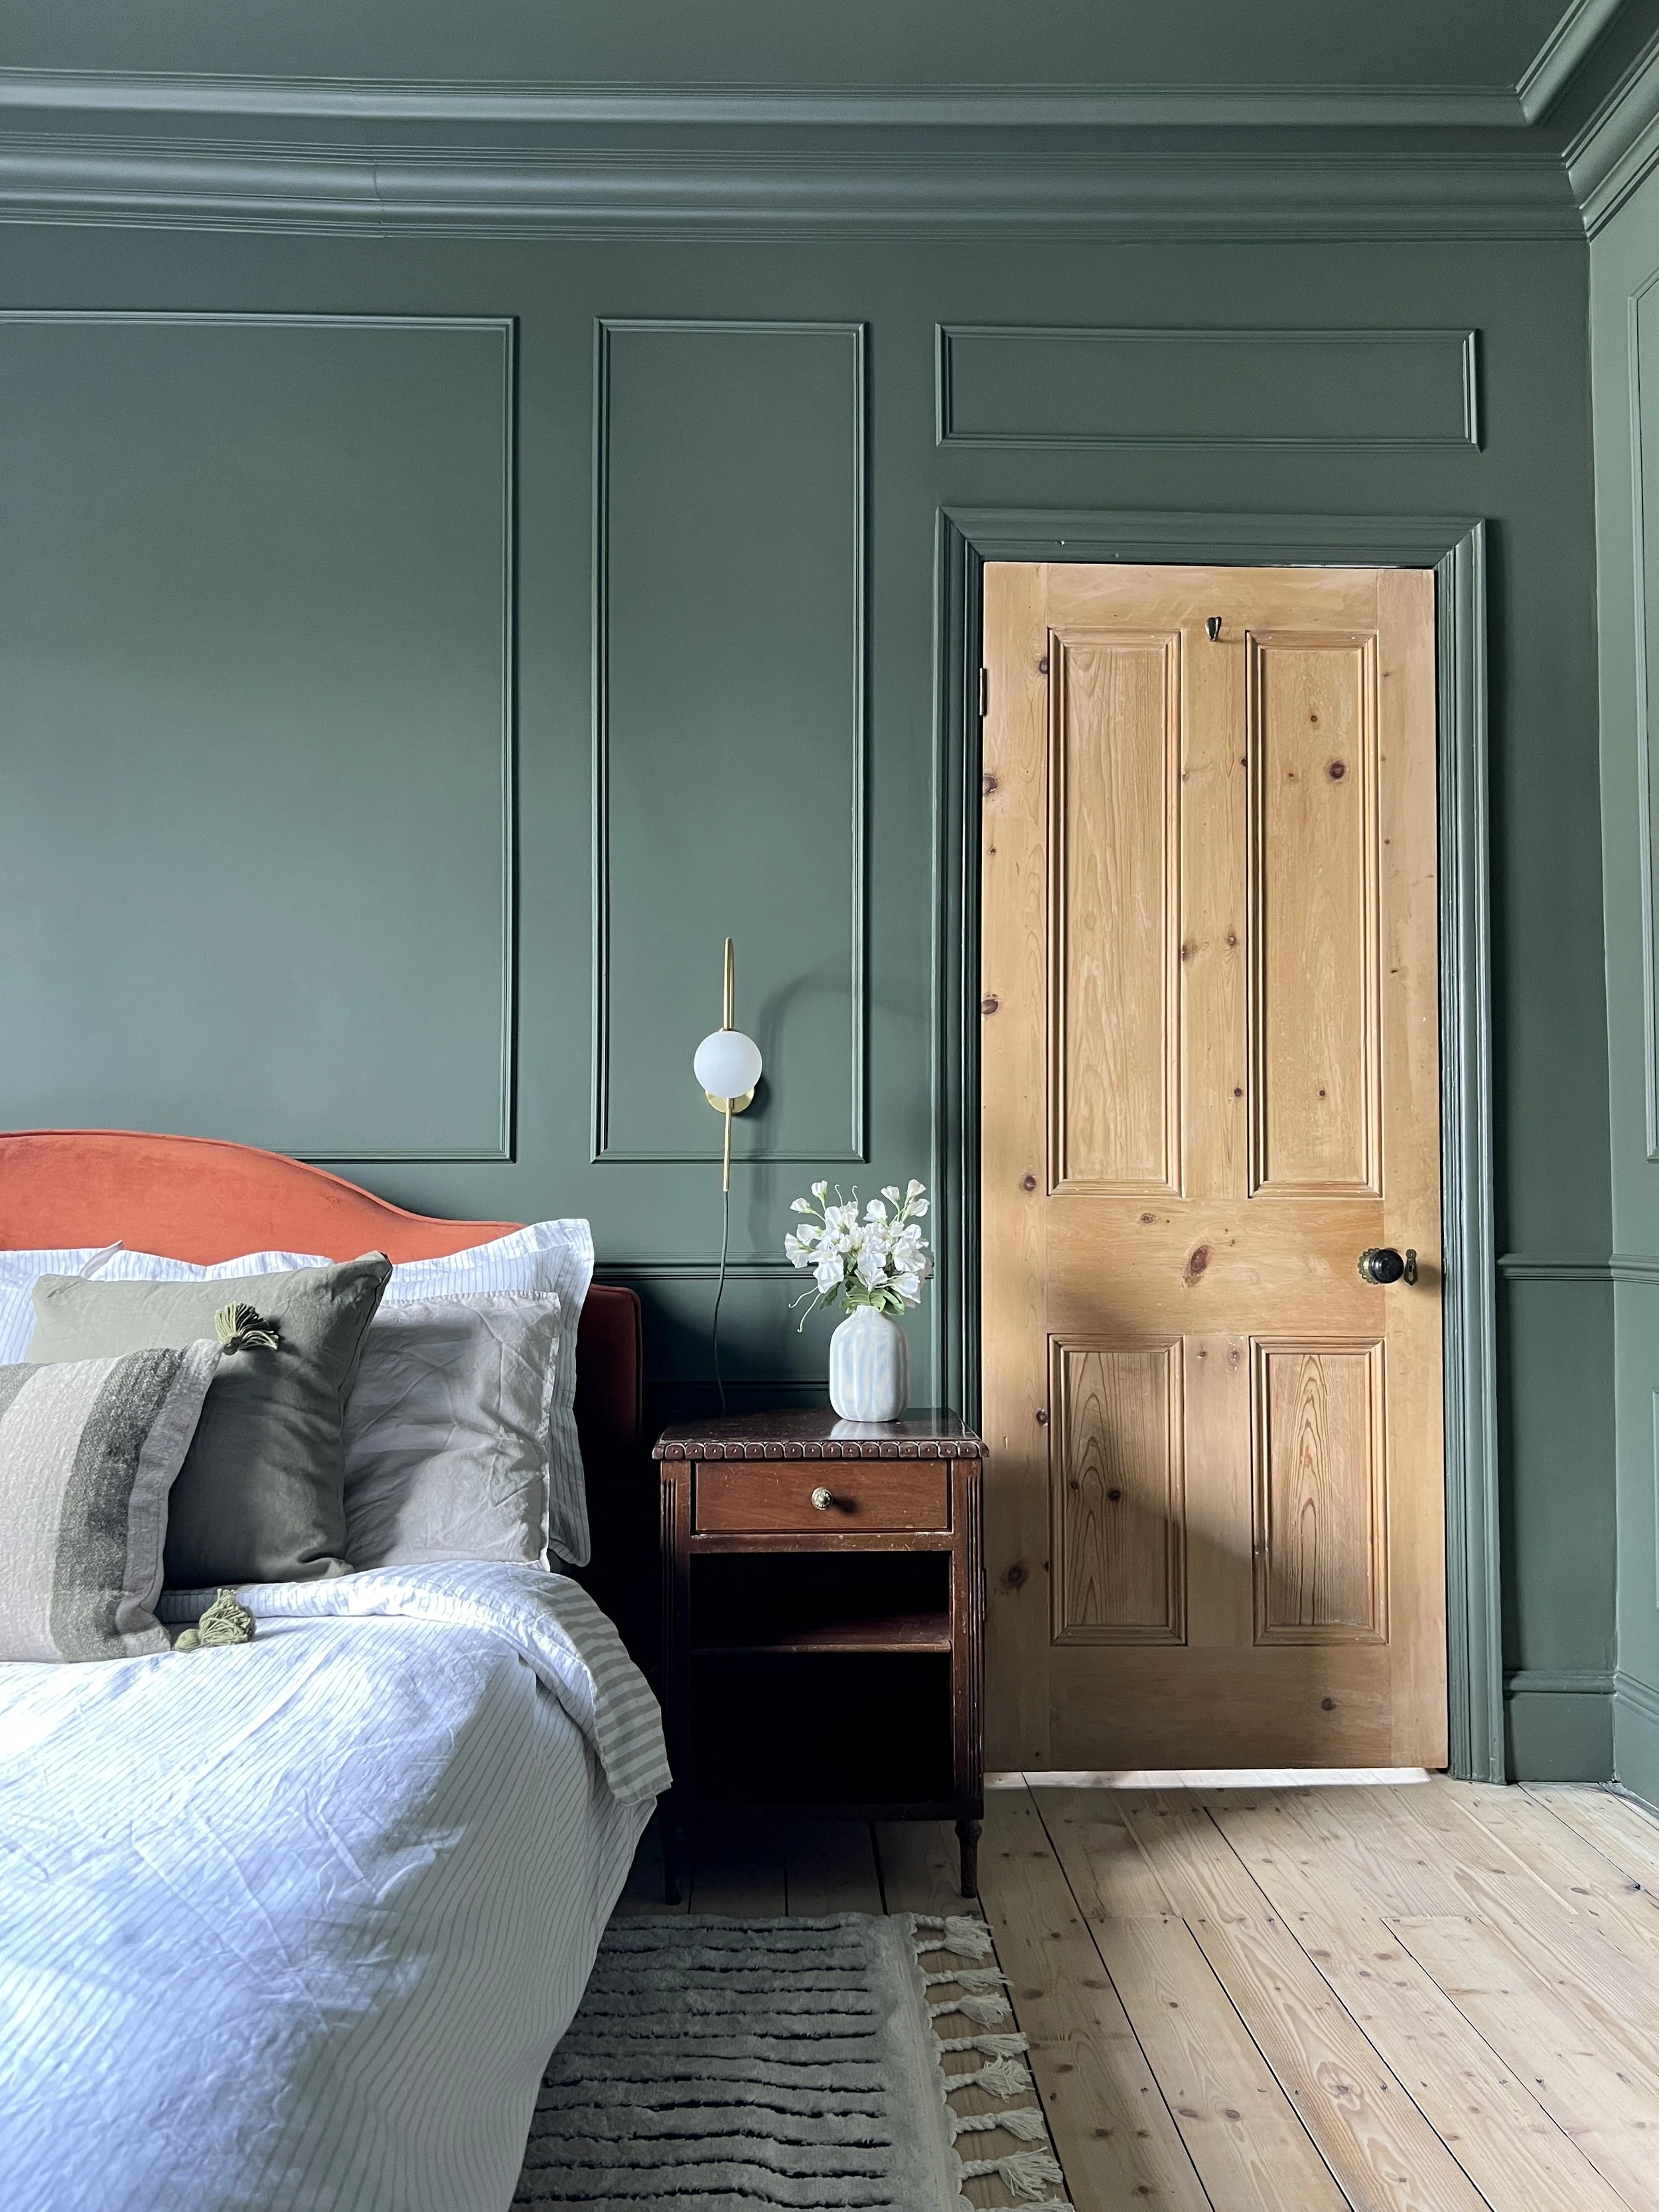
Box mouldings in an Edwardian bedroom
Wall panelling is one of the easiest and most affordable ways to add character and architectural interest to any room. I really loved this DIY and it’s definitely beginner friendly! This guide tells you everything you’ll need to create a similar box moulding in your home.
Click here for my complete panelling shopping list*, but please read below for more information and alternatives.
*some links contained in this blog are affiliate links, which means I earn a small commission if you buy (with no extra cost to you).
1. dado rail and mouldings
The shopping list includes the exact dado rail and mouldings I used, which come ready primed. They are more expensive than pine, but are excellent quality designed not to warp, plus you won’t then need knotting or primer.
The dado rail may say “unavailable” on the Amazon thumbnail, but if you click onto the product and “see all buying options”, there should be delivery available to you.
They are by Orac Decor, codes P8030 and PX201. If they sell out on the link above, then you can also buy them direct from Orac.
The dado rail is the wider moulding that goes about a third way up the wall. I’ve also added a pine alternative to the list which is a similar size to the one I used. Please note if using pine, you’ll need to knot the wood and prime before using a top coat of paint.
If you’d like a cheaper alternative for the wall mouldings, then Wickes do a similar one. Again you’ll need to fill, knot and prime before painting.
2. Essential DIY Tools
Measuring & Marking
Tape measure
Spirit level or laser level
Pencil
Combination set square
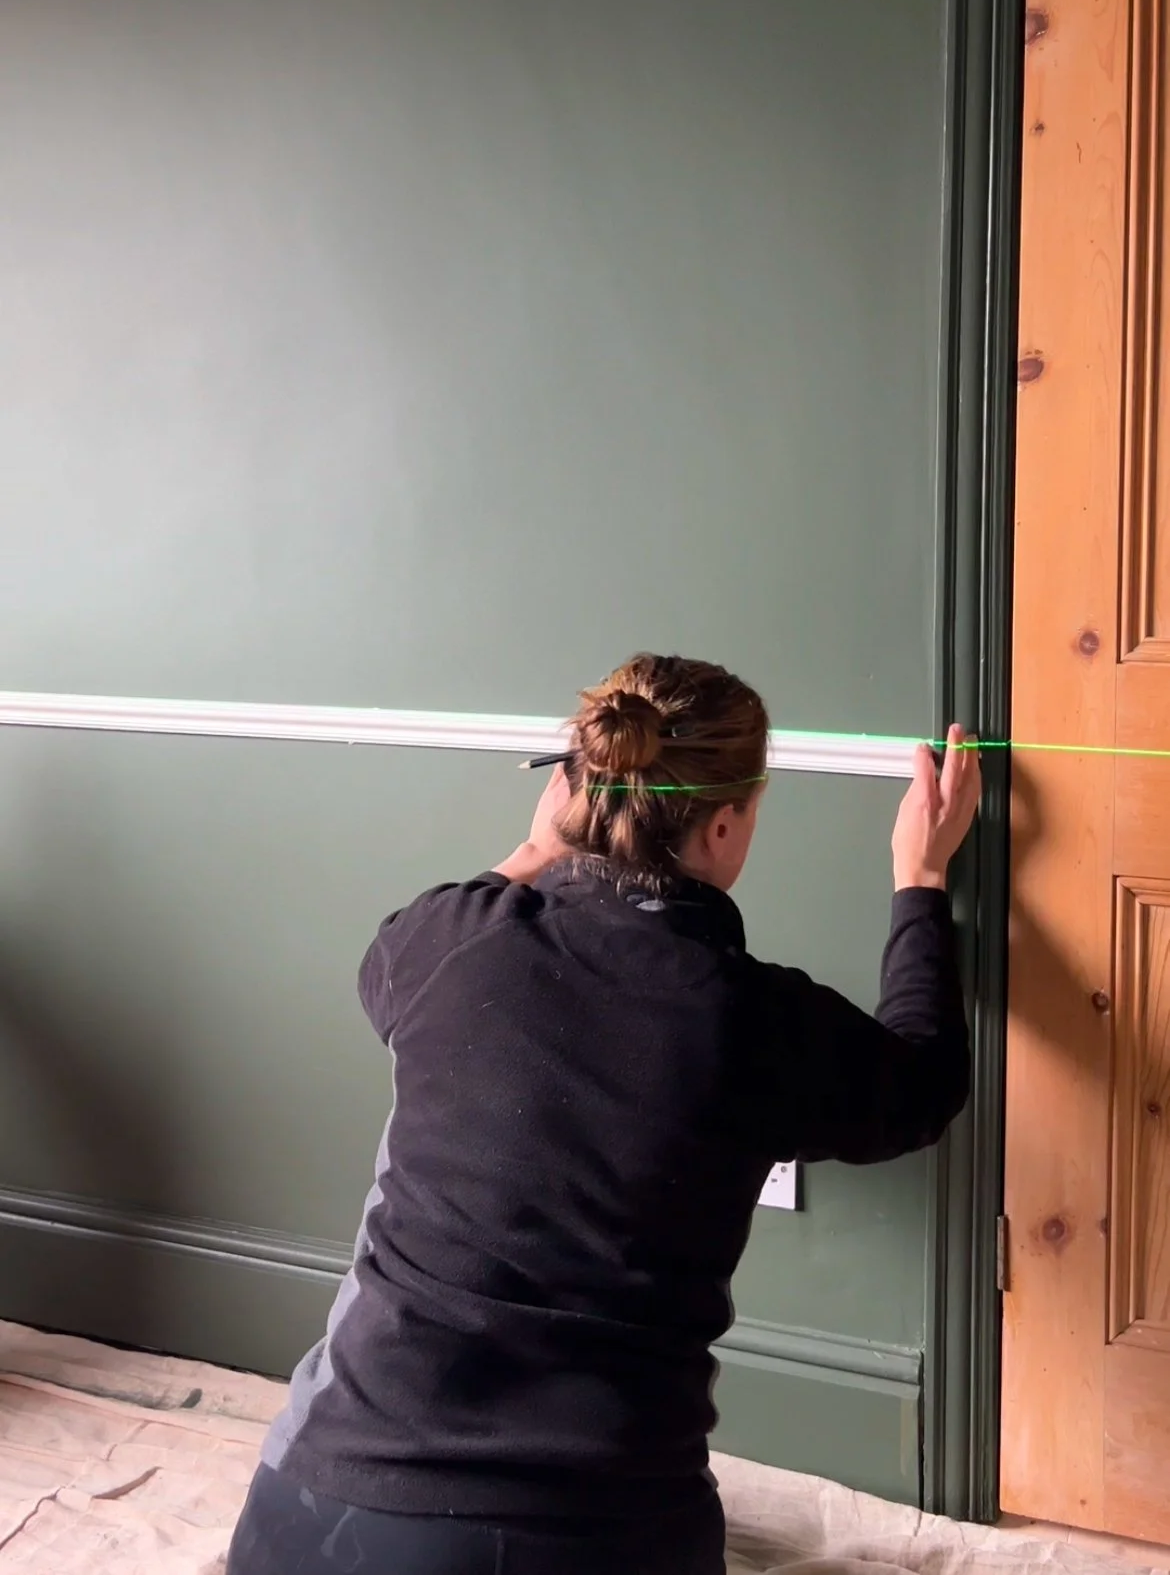
Installing the dado rail with a laser level makes it so much quicker!
I’ve included a spirit level and a laser level; you don’t need both. We found a laser level made it really quick and easy and again they are a good investment if you’re renovating.
cutting tools
Mitre box and hand saw (budget‑friendly) OR
Electric mitre saw (if you want speed & precision)
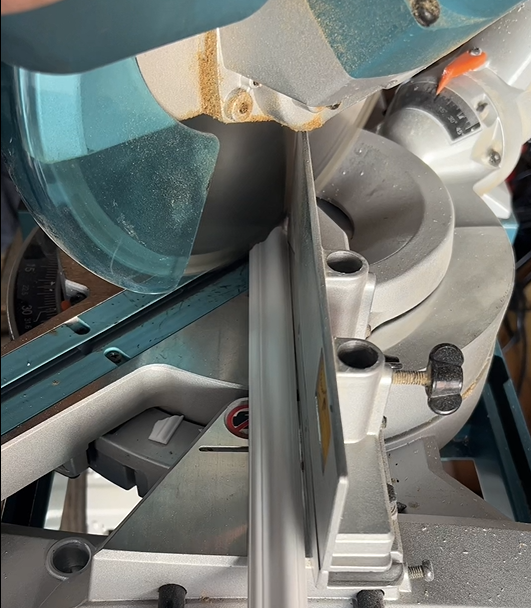
Cutting the wall panelling with a mitre saw makes the job quick and accurate
On the list I’ve included both a mitre block & hand saw and also a mitre saw tool - you don’t need both but you might want a mitre saw if you’re planning to do a lot of cutting in the future; they’re a good investment.
3. Fixing, filling & pREP
Grab adhesive (e.g., No More Nails, Gorilla)
Flexible filler (for corners)
Caulk
Sandpaper
Knotting (if using pine mouldings)
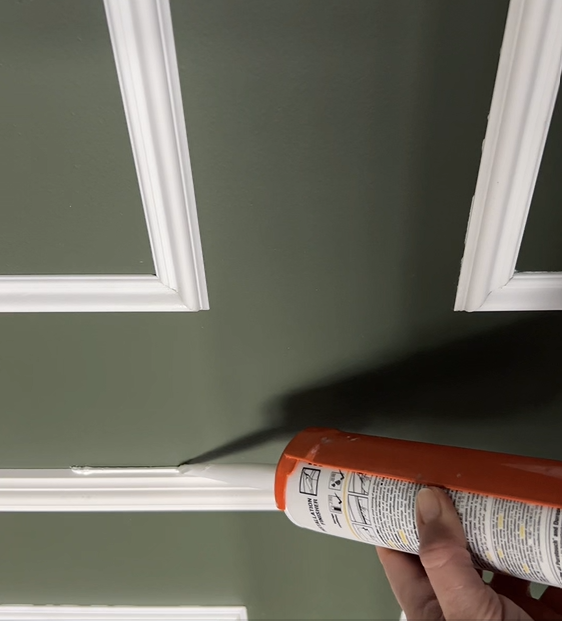
Caulking the dado rail and wall panelling
Use flexible filler in the corners where mouldings meet and this can then be sanded back; then use caulk in between the mouldings and wall.
I have also included wood filler on the list, if you are using pine mouldings and need to fill any natural knots or holes.
4. Painting Supplies
To get that flawless professional finish:
Primer
Wall paint
Angled paintbrush
Roller & tray
Sandpaper
You will need to knot and prime the mouldings if you’re using pine; this is to stop the wood knots and grain seeping through. Our mouldings from Orac Decor came ready primed, so your top coat of paint can go straight on top!
I painted our walls and panelling all in emulsion, so it gave an even finish. On the wardrobes I used eggshell paint for a more durable finish.
The colour in our bedroom is Vintage Vogue by Benjamin Moore
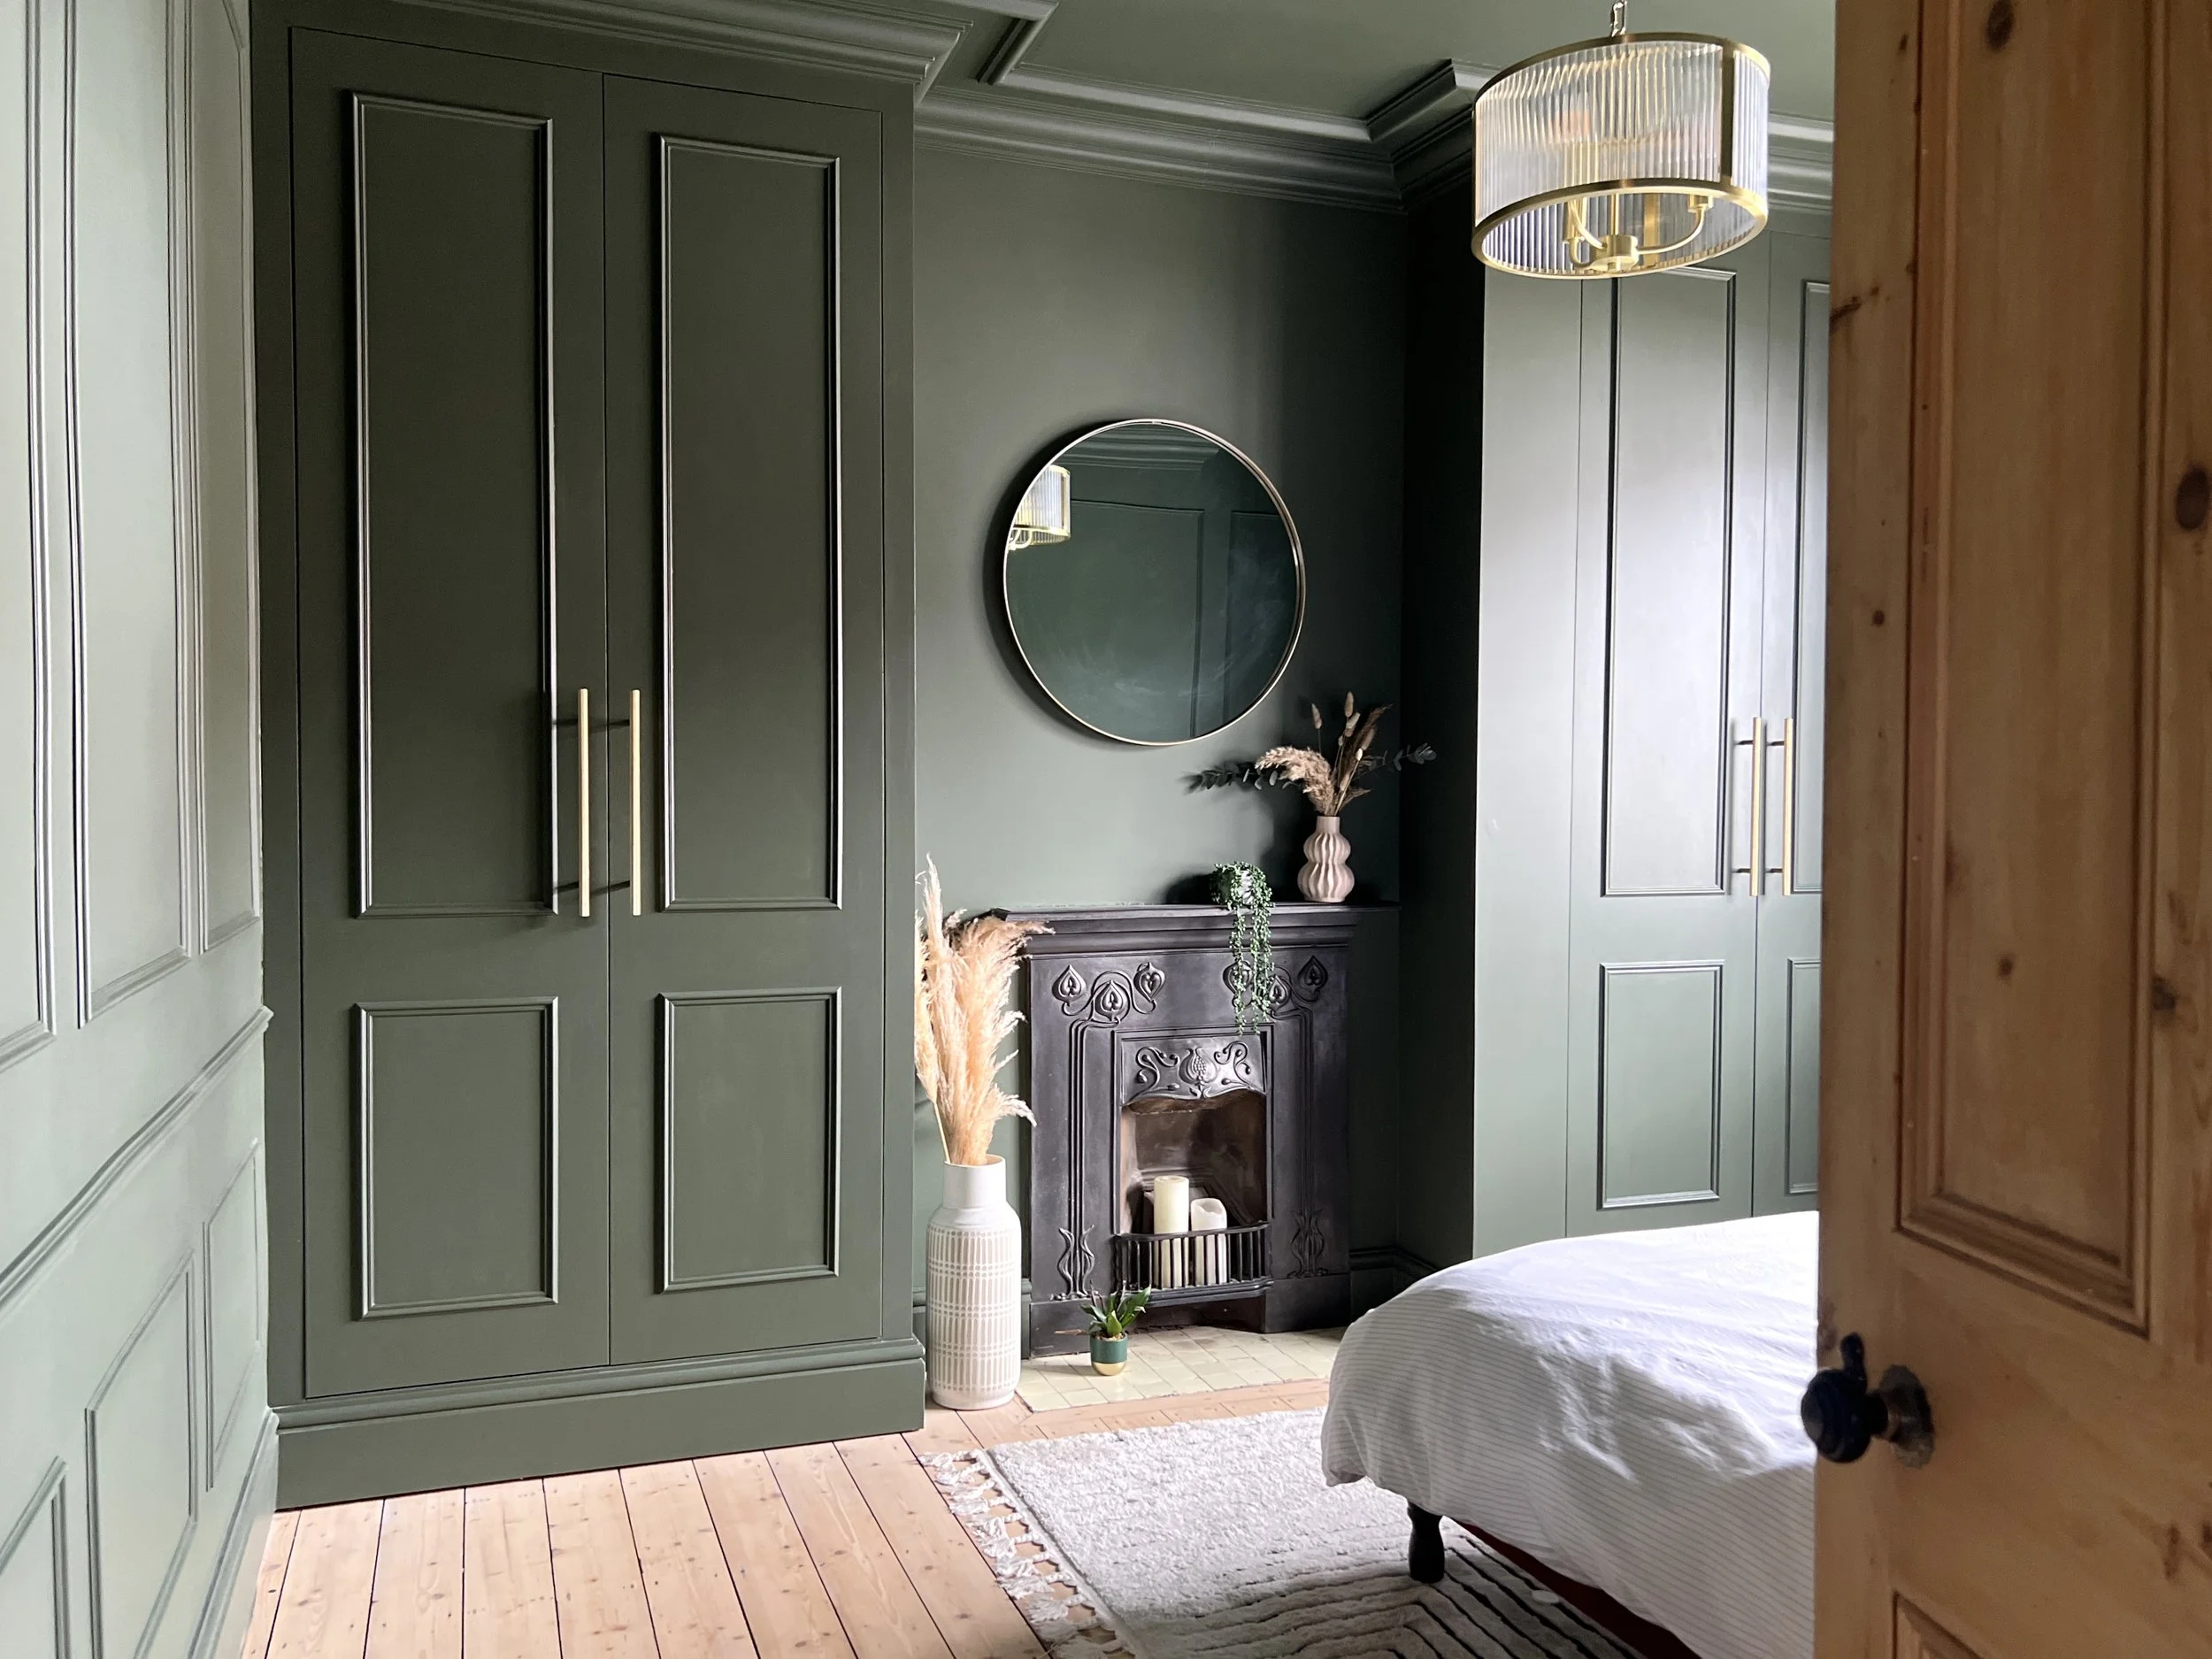
Panelled bedroom colour drenched with Benjamin Moore Vintage Vogue
5. step by step guide
I’ll be adding a blog very soon with a full step by step guide, but in the meantime, please see my video on Instagram and the steps below.
In summary:
Plan your design — measure, sketch & calculate spacing
Cut your mouldings
Fix to the wall using adhesive + nails
Fill gaps (caulk + filler)
Sand smooth
Prime + paint